When you get a phone, the first thing you need to do is
set up your phone. Setting up your new device is an exciting process that will
allow you to explore all its features and functionality. To help you get
started, here is a step-by-step guide on how to set up your new phone.

Steps to set
up your phone
Here are steps to set up your phone:
Step 1: Power on your phone
To begin, locate the power button on your device and
press and hold it until the screen lights up. Your phone will go through the
initial boot-up process and be greeted with a welcome screen.
Step 2: Choose your language and region
You will be prompted to select your preferred language
and region on the welcome screen. Swipe or tap on the options to make your
selections. This will ensure that your phone displays content in the language
you are comfortable with and sets the correct date and time for your region.
Step 3: Connect to a Wi-Fi network
Next, you will need to connect your phone to a Wi-Fi
network. Tap on the available networks on the screen and enter the required
password. A stable internet connection will be essential during the setup
process.
Step 4: Sign in with your Google
If you are using an Android phone, you will be asked to
sign in with your Google account. Enter your email address and password to
continue. For iPhone users, you will need to sign in with your Apple ID. If you
don't have one, you will have the option to create a new account.
Step 5: Restore from a backup (optional)
If you are upgrading from an old phone or have a backup
stored in the cloud, you will be given the option to restore your data. This
includes contacts, photos, apps, and other settings. Follow the on-screen
prompts to restore your data, or skip this step if you prefer to set up your
phone as new.
Step 6: Set up biometric security (optional)
To enhance your phone's security, you can set up
biometric security features such as fingerprint or facial recognition. This
will allow you to unlock your phone using your unique biometric data. Follow
the instructions provided on the screen to set up these features.
Step 7: Enable location services (optional)
Many apps and services rely on location data to provide
personalized experiences. You can turn location services on or off based on
your preferences. Go to the settings menu and navigate to the location services
section to make your selection.
Step 8: Customize your home screen
Now it's time to personalize your phone's home screen.
You can rearrange app icons, change the wallpaper, and add widgets for easy
access to information. Explore the settings and customization options to make
your phone reflect your style.
Step 9: Install essential apps
After setting up your phone, installing essential apps
you use regularly is a good idea. These may include social media apps,
messaging apps, productivity tools, and entertainment apps. Open the App Store
or Play Store on your phone and search for the needed apps. Please tap on the
install button to download and install them.

Step 10: Explore additional features
Now that your phone is set up, explore the additional
features it offers. This may include gestures, shortcuts, and system settings.
Familiarize yourself with these features to make the most of your new device.
Conclusion
We hope we guided you well on how to set up your phone.
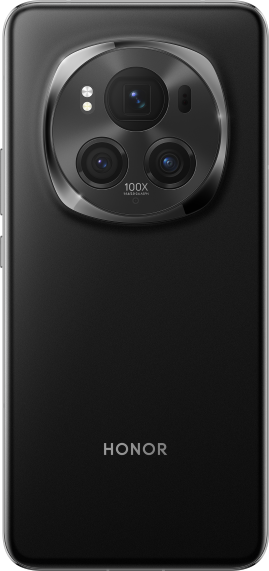
You should check out the HONOR Magic6 Pro features. This amazing phone is
very easy and smooth to set up. Following the steps outlined in this guide, you
can easily set up your phone, personalize it to your liking, and enjoy all its
features and capabilities.
